ENVIRONMENTAL ART WORKSHOPS
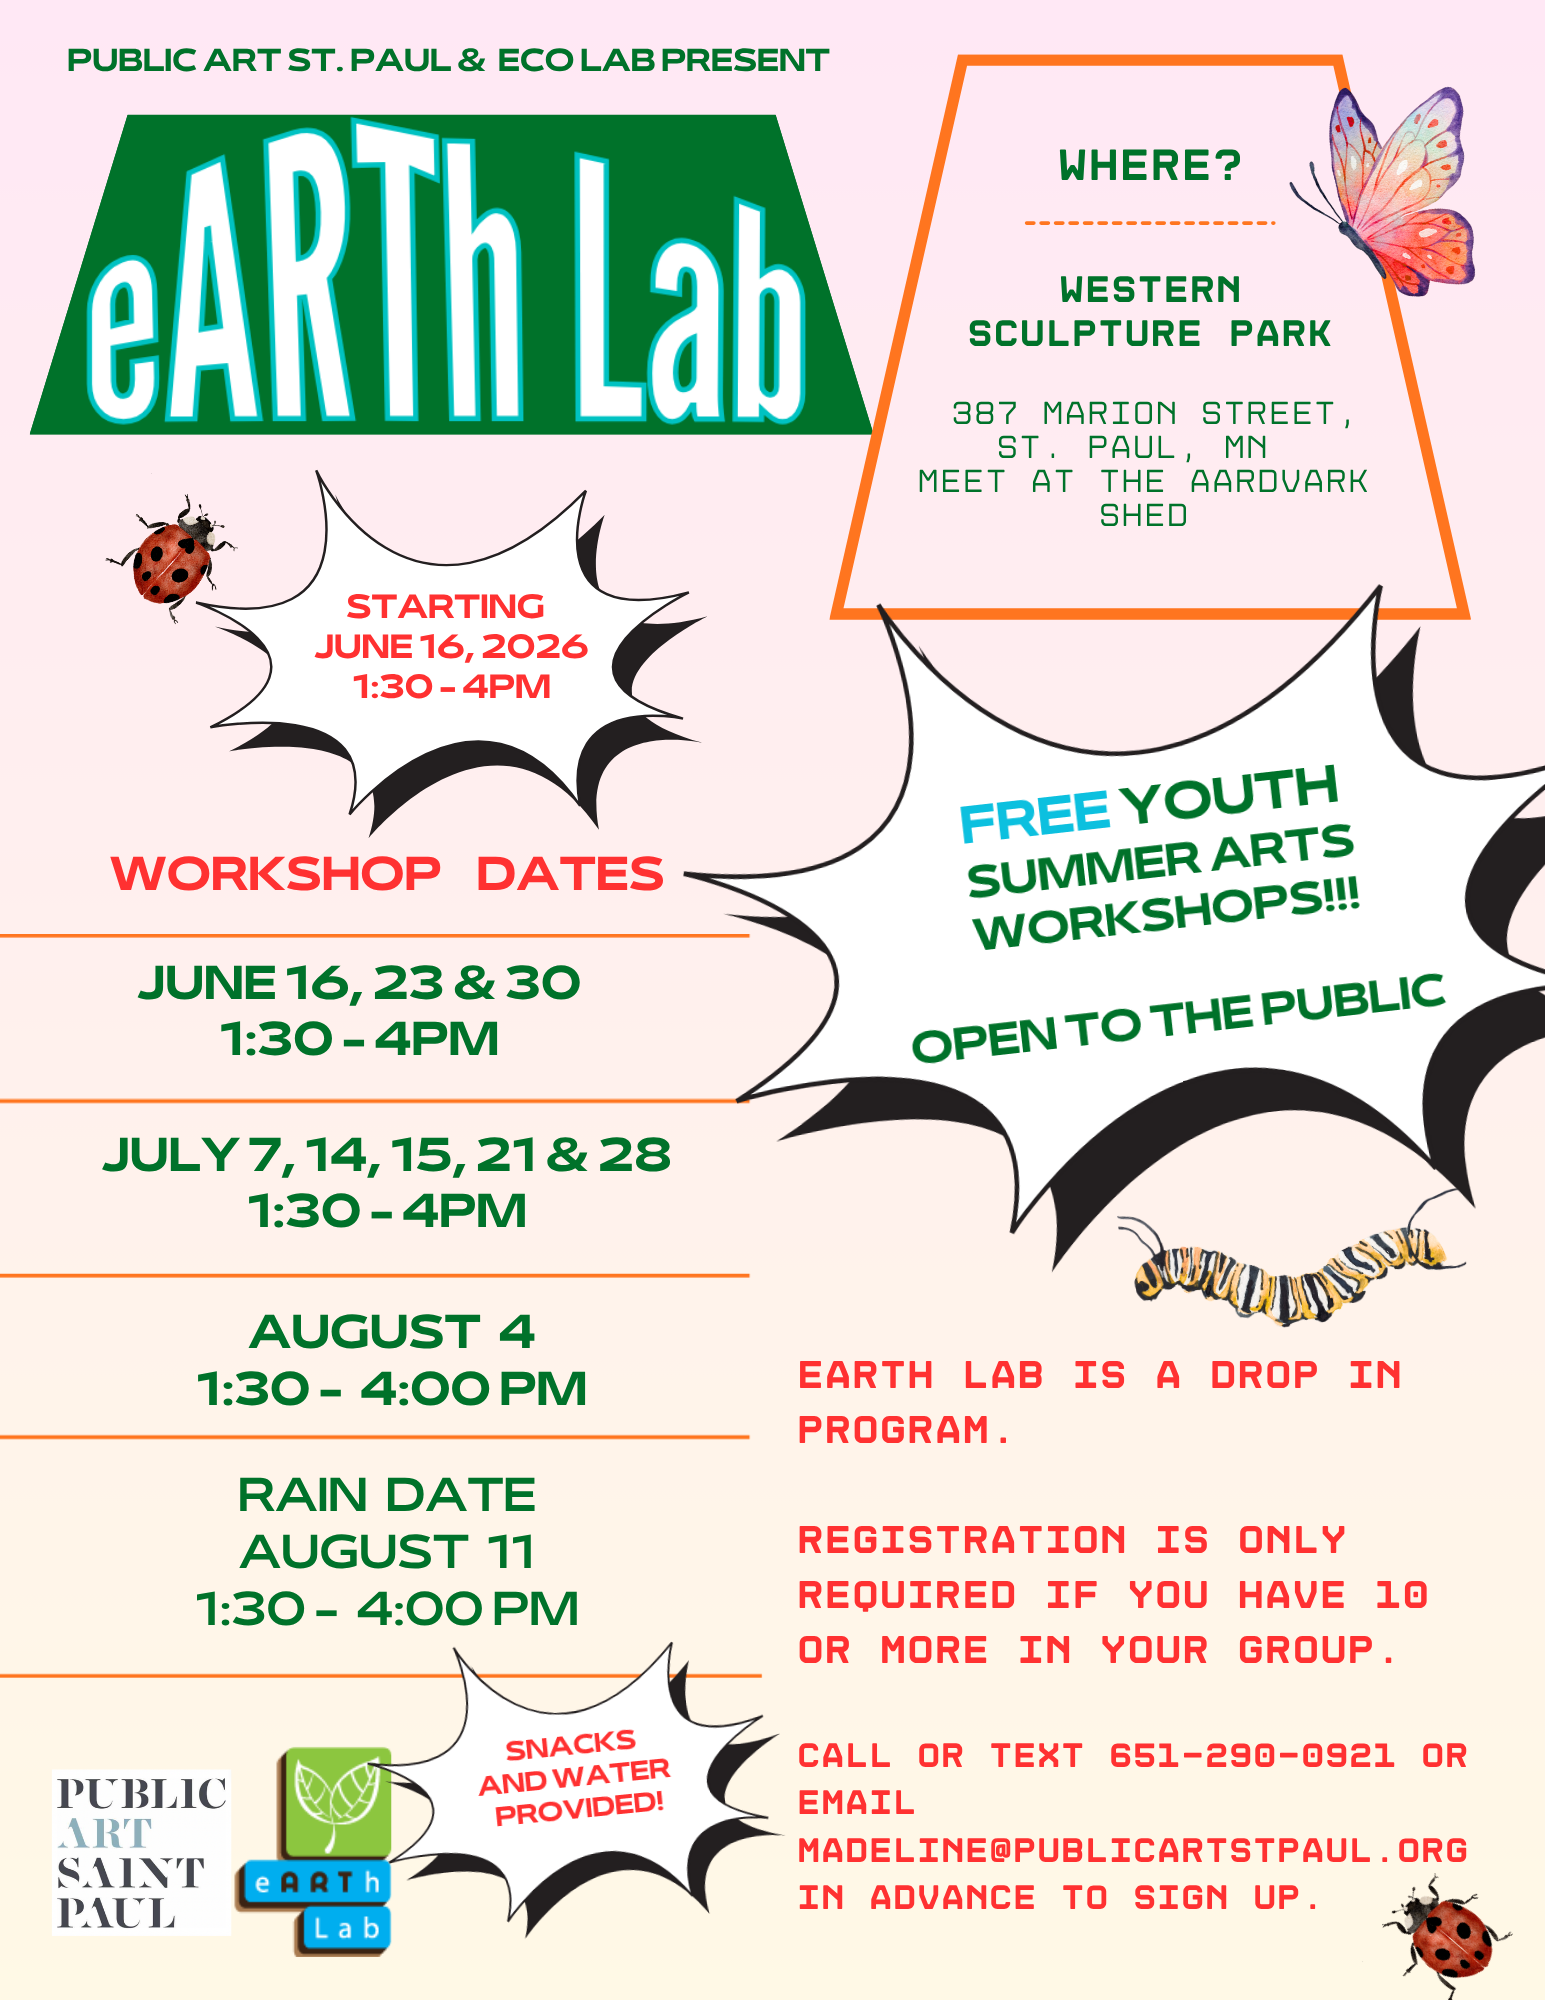
About eARTh Lab
eARTh Lab workshops use art to develop skills, promote personal growth, and to encourage a new generation of active citizens. Each workshop engages teaching artists, education interns, and wonderful volunteers in sessions that are open to youths of all ages. Free snacks are provided as well.
WORKSHOPS FOR SUMMER 2026
All workshops are free and open to the public
Tuesday, June 16, 2026 – Zen Water Marks: Drawing with Impermanence & Tracing Light: Shadows in Nature (Native Ink from Minnesota Plants) with Teaching Artist Mayme Dosnker
1:30-4 PM
Tuesday, June 23, 2026 – We are Part of the Watershed with Teaching Artist Esther Ouray
1:30-4 PM
Tuesday, June 30, 2026 – The body of the Earth: Movement as Ecosystem with Teaching Artist Charlotte Tauer (Mama Rose)
1:30-4 PM
Tuesday, July 7, 2026 – Summer Dragonfly with Teaching Artist Phuoc Tran
1:30-4 PM
Tuesday, July 14, 2026 – WORKSHOP POSTPONED DUE TO EXTREME HEAT. Rescheduled to August 11th, 2026
Tuesday, July 21, 2026, – Thank You Sun with Teaching Artist Gita Ghei
1:30-4 PM
Tuesday, July 28, 2026, – Graffiti Hand Style: Hip Hop’s Calligraphy with Teaching Artist SEE MORE PERSPECTIVE
1:30-4 PM
Tuesday, August 4, 2026 – Painting Patterns with Cheese and Earth with Teaching Artist Elisabeth Heying
1:30-4 PM
Rain Date: August 11, 2026 – The Alchemy of Weaving with Teaching Artist Pam Reyes
1:30-4 PM
Workshop activities may be subject to change
SIGN UP
eARTh Lab is a drop in program. Registration is only required if you have ten or more in your group. Call or text 651.290.0921 or email madeline@publicartstpaul.org to sign up.
ADDRESS
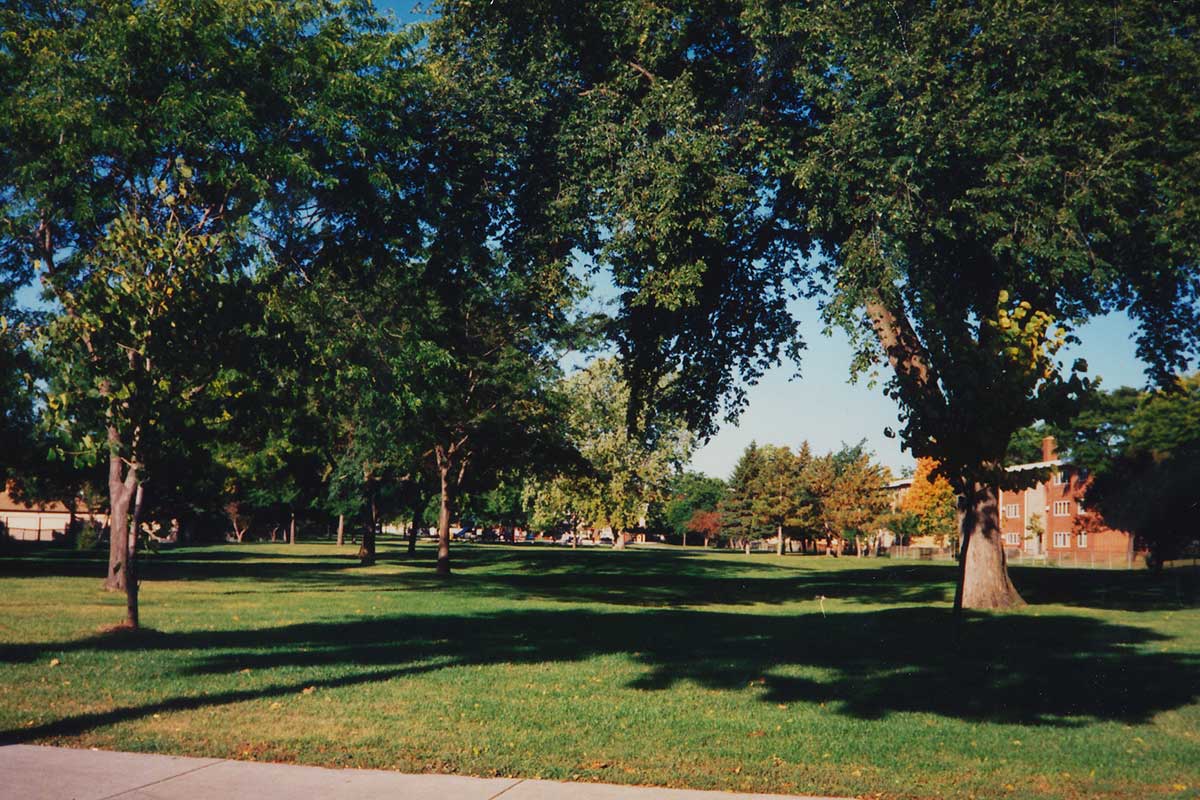
Western Sculpture Park
387 Marion St,
St Paul, MN 55103
PARKING
Street parking is available on W Fuller Ave and N Farrington St.